| |
SETTING THE MAGNIFICATION: DPI SETTINGS EXAMPLES
NOTE: In v1.60, -dpi is preferred to -odpi, but both will work. In v1.51, the DPI settings in the interactive menu are now under option "d" for "device resolution".
While k2pdfopt is designed to give good results on a 6-inch reader by default, you
may want to fine tune the DPI settings depending on your reader and your input file.
The -idpi and -odpi settings, discussed above, control the quality (-idpi) and
magnification (-odpi) of the k2pdfopt output PDF file.
DPI stands for dots per inch, and -idpi tells
k2pdfopt what dots per inch, or resolution, to use for rendering the source (input) PDF file,
while -odpi tells
k2pdfopt the dots per inch of the output device (the reader screen).
Here is an example of the effect of each. The original PDF file is an 8.5 x 11-inch
page like so:

(source file, 8.5 x 11 inches)
|
OUTPUT DPI EXAMPLE
Examples of the first page of the output file with different
-odpi values are shown below. This directly controls the
magnification of the output file. Larger values increase the magnification proportionately.
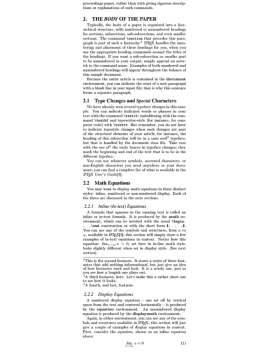
-odpi 50 |
|
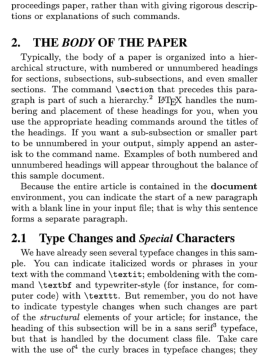
-odpi 167 (default) |
|
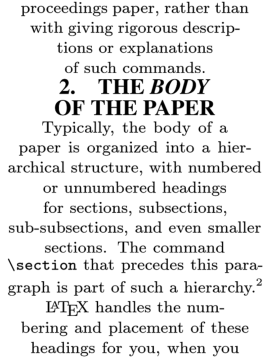
-odpi 300 |
| |
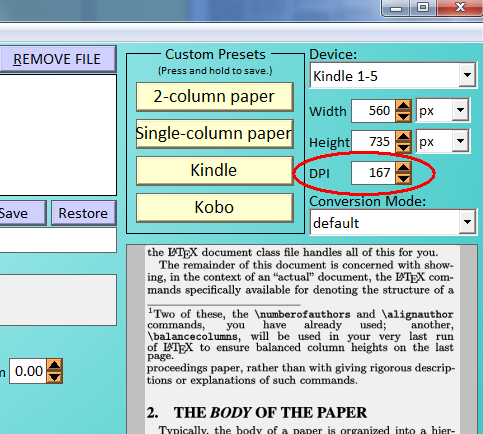
Output DPI control in Windows GUI |
INPUT DPI EXAMPLE
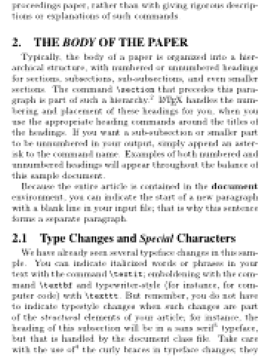
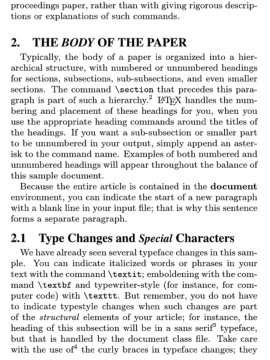
Examples of the first page of the output file with different
-idpi (at -odpi 167) are shown below. You can see that it only
affects the quality of the output, not the magnification. In general,
you don't need to worry about the -idpi value because as of v1.29, it defaults
to twice the -odpi value, which should be fine for any conversion.
-idpi 50 |
|
-idpi 150 |
|

-idpi -2 (default = 2 x the output dpi) |
|
|
|