| |
INTERACTIVE TEXT MENU
In older versions of k2pdfopt, and in the Linux and OSX versions, k2pdfopt
starts by bringing up an interactive text menu. The video and instructions
below describe this version.
Linux users, see also
the linux getting started page. Mac users, see the
Mac getting started page.
GETTING STARTED VIDEO (PRE V2.X)
|
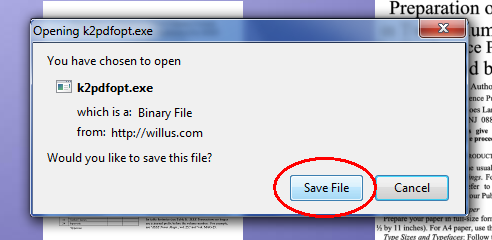
Using k2pdfopt is simple. Just click on the download link, which should bring
up a save dialog box like so:
| |

(Using Firefox browser) |
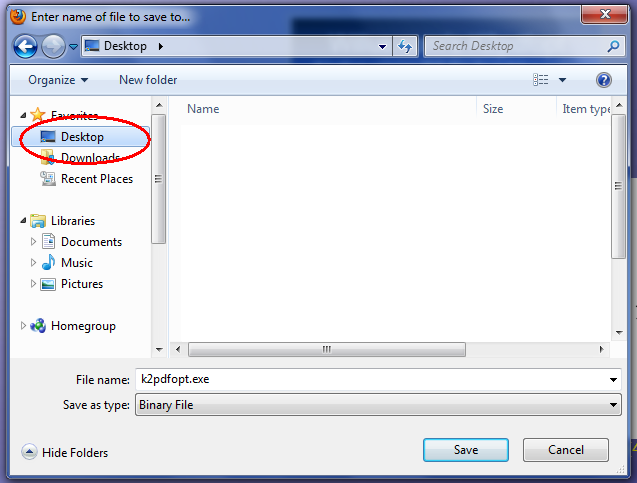
Select Desktop when you save...
| |

(Using Firefox browser) |
Then just drag the PDF file that you want to convert/optimize to the k2pdfopt icon:
This will launch k2pdfopt, which will bring up the interactive menu:
As shown above, you now have several options. I'll discuss some of them here:
1. PRESS <ENTER>
This will do the conversion using the default settings, which often are fine.
You'll see k2pdfopt process the document and tell you the resulting location
and size of the output file:
The PDF file which has been optimized for your e-reader has _k2opt at the end of
the name:
You can now transfer this PDF file to your mobile reader and/or open it with a PDF
reader to see how it looks.
2. ENTER A PAGE RANGE
You can type in a series of page numbers or page ranges to convert and then
press <Enter> to convert only those pages:
... and after you press <Enter> you'll see the updated "Selected options":
... and then press <Enter> again and k2pdfopt will process the file:
3. SELECT A SETTING TO CHANGE
If, for example, you want to magnify the output more than the default setting,
you can type in o for output dpi [note: as of v1.51, output dpi is set under d]
(and then press <Enter>), and then
k2pdfopt will prompt you for a new output dpi value, and you can enter a
higher value than the default:
After entering the new value, you'll get the interactive menu again, so that
you can select another setting to change, or go ahead and convert the file
via steps 1 or 2 above.
|
|
|